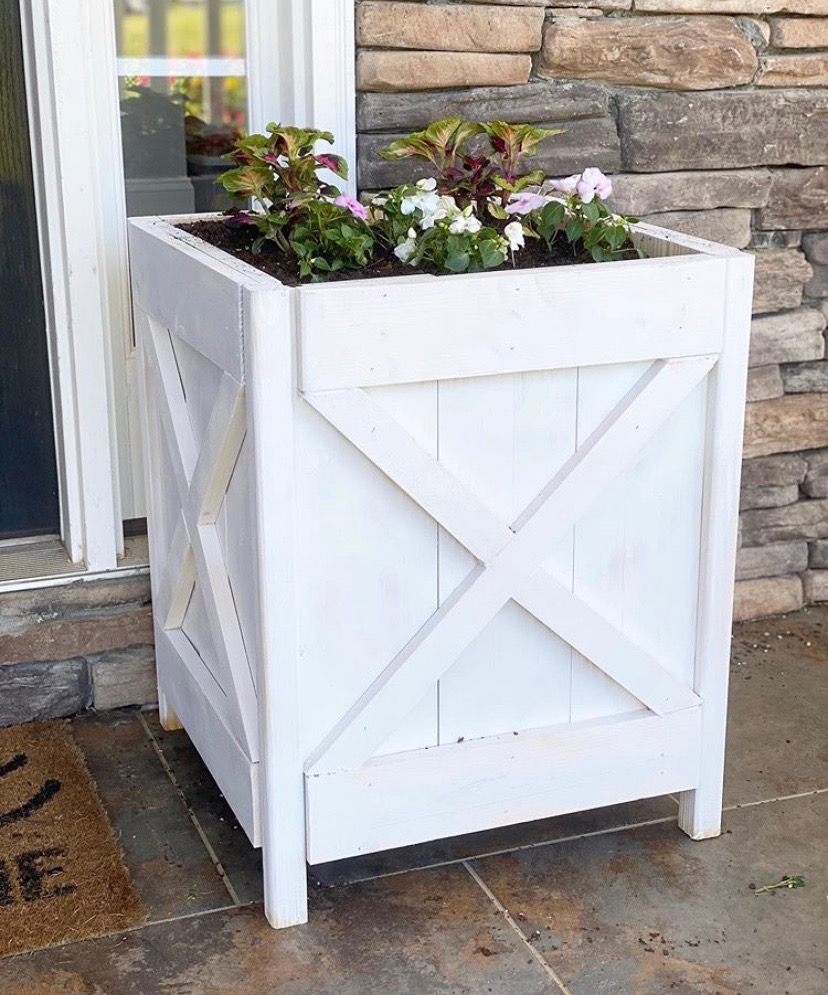
Alright, you hard workers! I am sharing a rewarding project with you today to beautify your porch, backyard, or garden! If you love gardening or having outdoor flowers around your home, these DIY planter boxes will beautifully accentuate your plants, and you can make them all yourself.
Before you begin, I used a Kreg Pocket-Hole Jig for pocket holes and a Brad Nailer for assembling the pieces. These are simple to use tools, and I highly recommend them for this and many more projects!
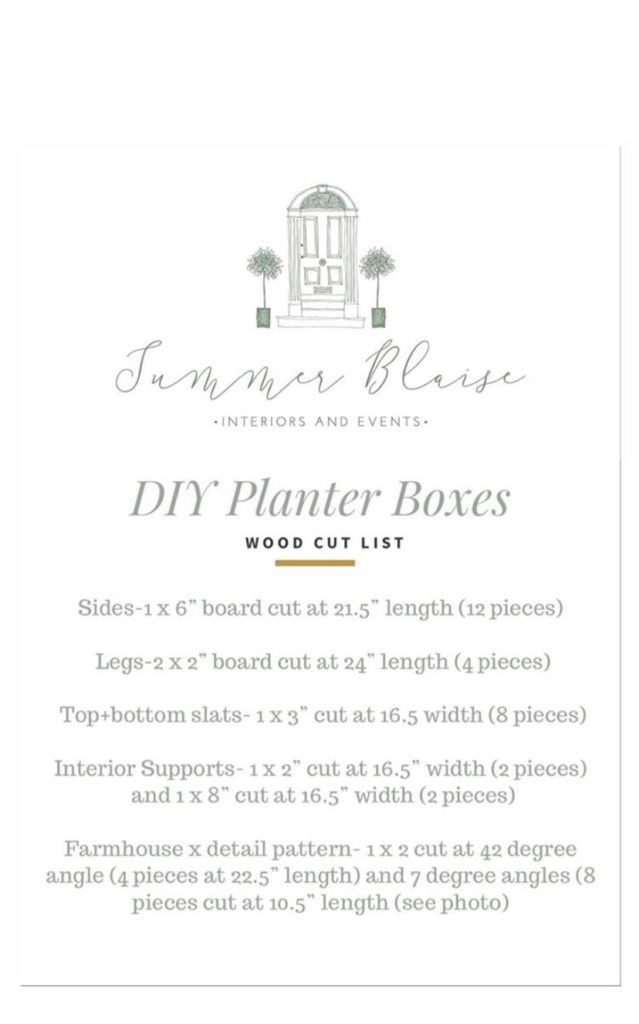
Pay close attention to this wood cut list for exactly what boards you need at what size. Once you have these materials ready, follow these instructions and have fun with it!
Cut the eight pieces at 10 inches long first. Cut it straight at the right length, then make angle cuts after.
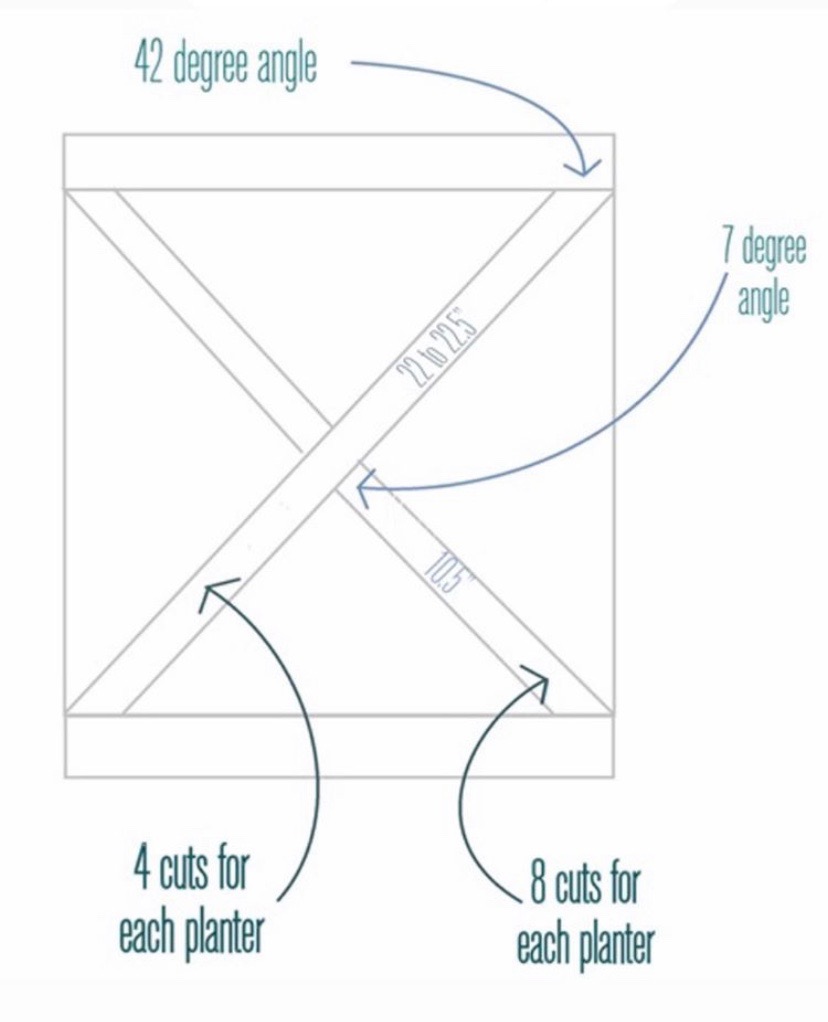
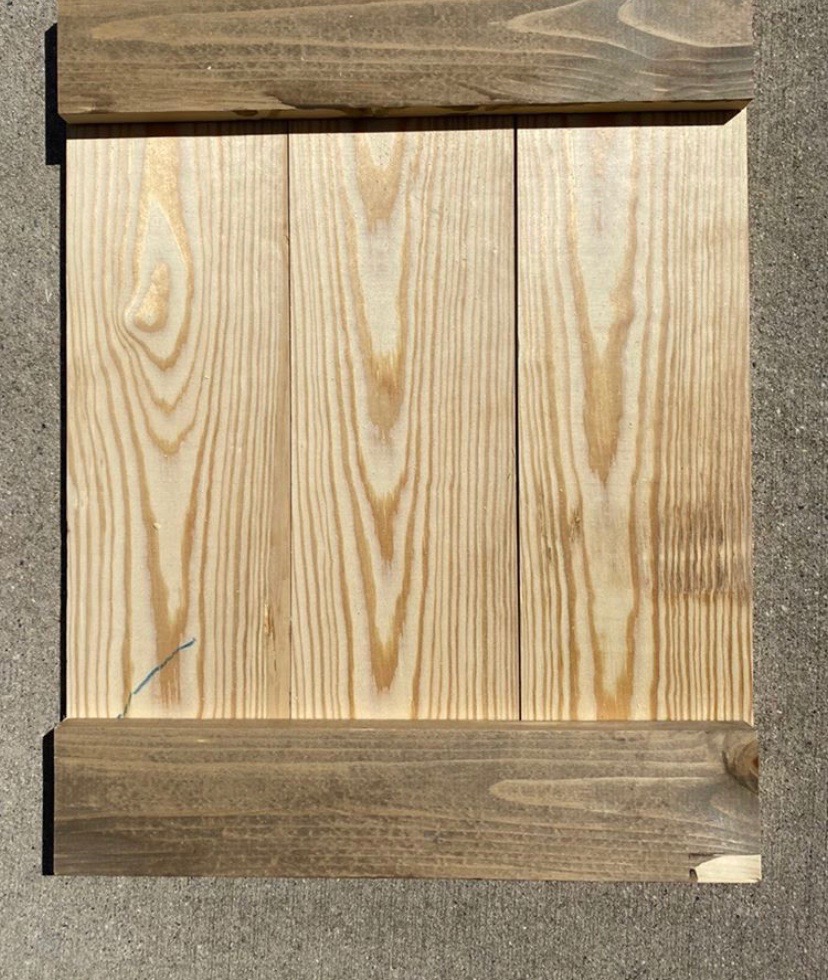
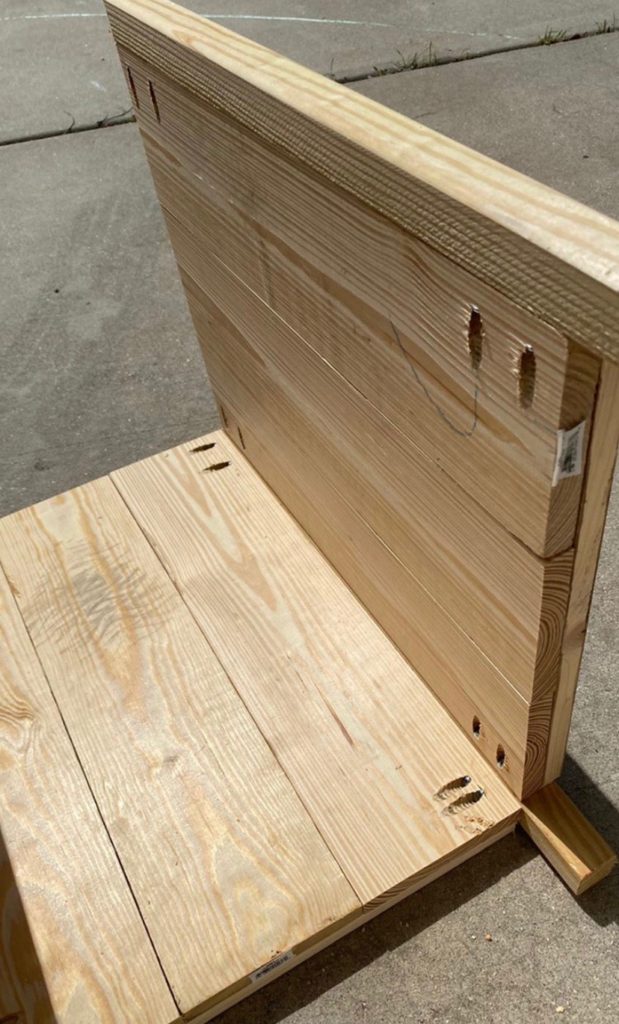
Assemble each side with three 1x6s, put them together in a row so that they touch. Put a 1×3 at the top and the bottom, and nail them in. Nail the Farmhouse X on each side with your nailer.
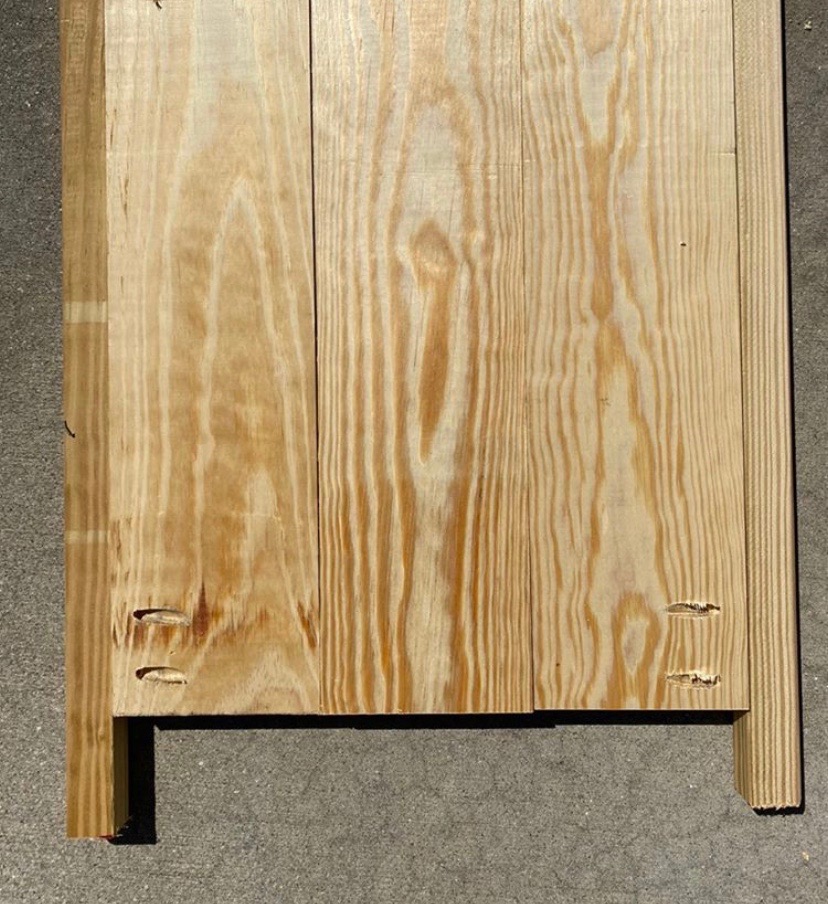
Use the Kregjig attachment to drill pocket holes on the back. Pocket holes hide the screws so they won’t be visible from the front. If your wood doesn’t hold on tight, you can drill it once, back it up, and drill it again.
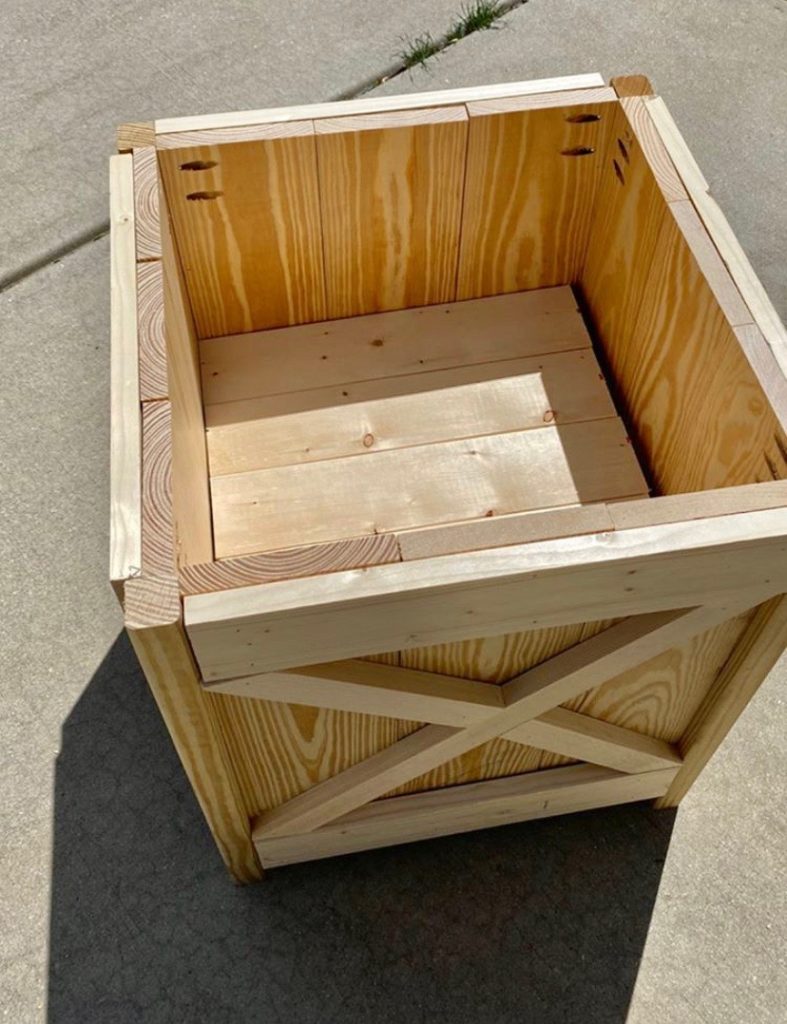
Attach the four sides using your nailer.
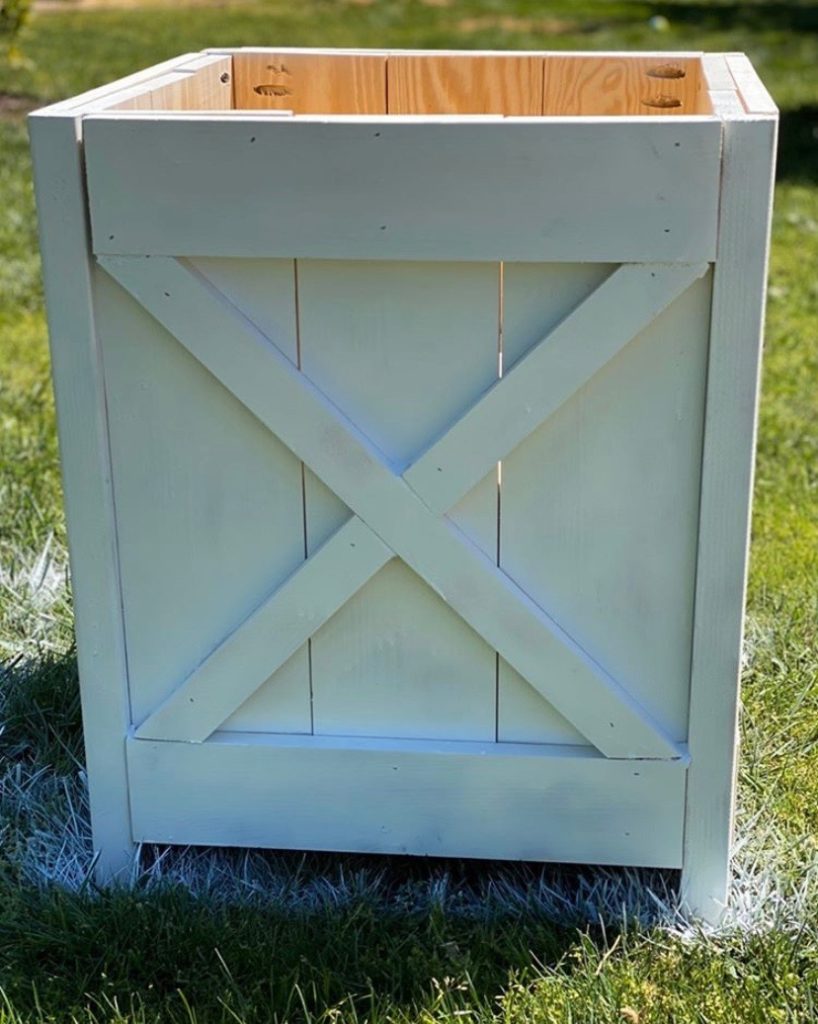
If your angles do not exactly line up in the final product, use Minwax Sustainable wood filler to fill cracks and sand it down. Use a coat of the paint of your choosing, and voila! Refer to my story here for detailed how-to videos, and enjoy!


LEAVE A COMMENT
0 Comments