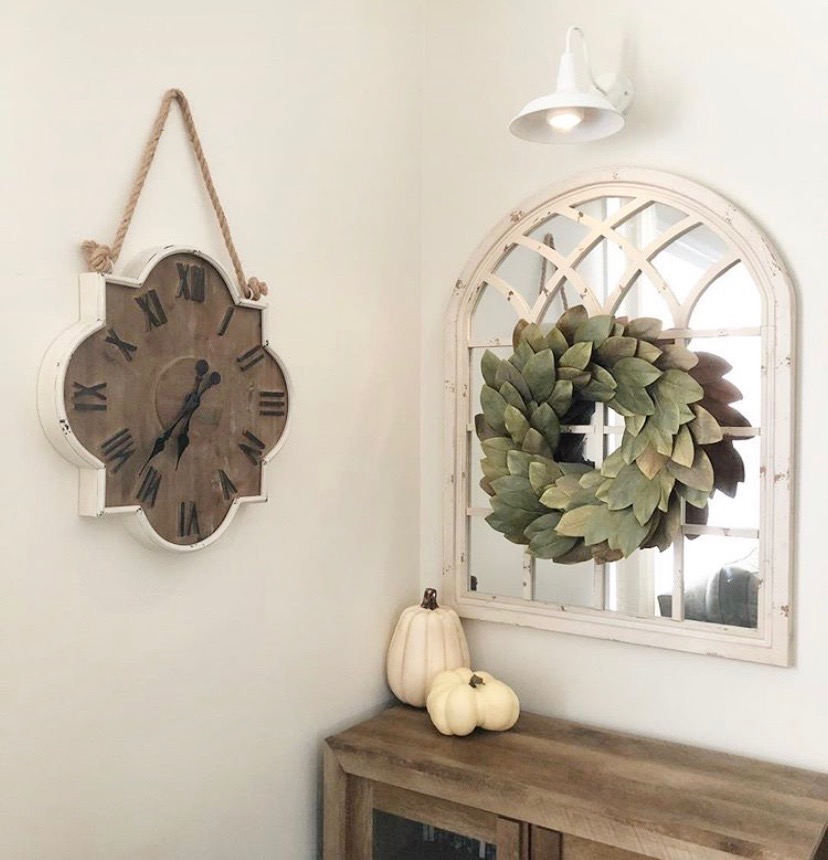
Do you have a corner or a room in your house that gets too dark for comfort at night? In our previous home, we had this one wall in our living room that was dark and seemed uninviting. I wanted a cute and cozy look, but typical lighting was out of the picture because the wall didn’t have electricity. It’s also super expensive to re-wire electricity to one wall, so we had to get creative. I tried everything to make the room lighter, especially since we spent a good amount of time in there, and sometimes lamps just aren’t enough. Well, I found out about a quick fix that solved all of these problems, and was super easy! Introducing… The Magic Light Trick!
I got the idea for these magical lights from Brooke Christen aka Nesting with Grace. I further researched this trick on Pinterest, improvised, and played around with what would work best in our home.
I found a set of awesome vintage Gooseneck Wall Sconces, perfect for either indoor or outdoor use. They’re only $50 for two, and are so worth it! You can find them here. Before mounting, I used spray chalk paint to paint the lights white. Black would look nice too depending on the room’s decor, but you know I absolutely love that crisp white look! You can find spray chalk paint at most home improvement stores like this Rust-Oleum brand from Home Depot.
After drying, it’s install time! Good news- these babies are very easy to install, and I did so by screwing the light into the wall with 2 inch screws. There are also pre-drilled holes, just to make it that much more simple.
Once I hung the sconces, I unscrewed the spot for regular light bulbs included with the fixtures. Doing so makes a flat surface. I used battery-powered LED lights from Amazon, you can find 6 for $18 here. These are awesome because you can apply them to a flat surface with their adhesive tape, and can operate them and change their setting with a remote, meaning you don’t even have to leave the couch to dim your lights.
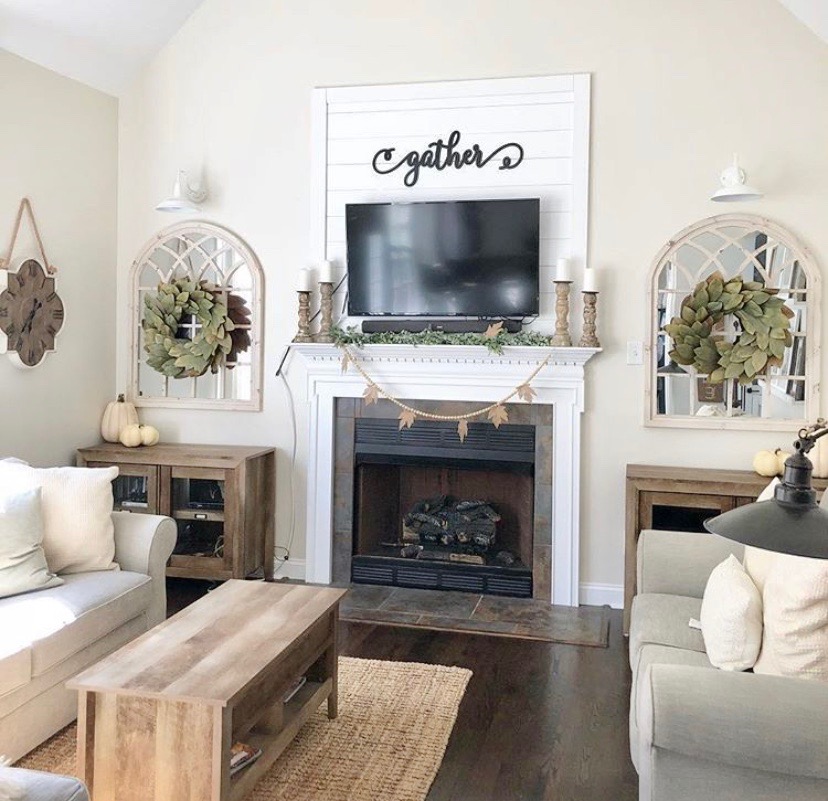
This magic light trick made my living room feel cozier and more welcoming, and I can’t wait to see yours! Tag me if you post about your DIY project- @summerblaiseinteriors on Instagram.


LEAVE A COMMENT
0 Comments