Okay, fair warning: this Christmas install may drop your jaw. This home was absolutely stunning, and now shines even brighter with the spirit of the holidays! We are so excited to share the process with you, room by room.
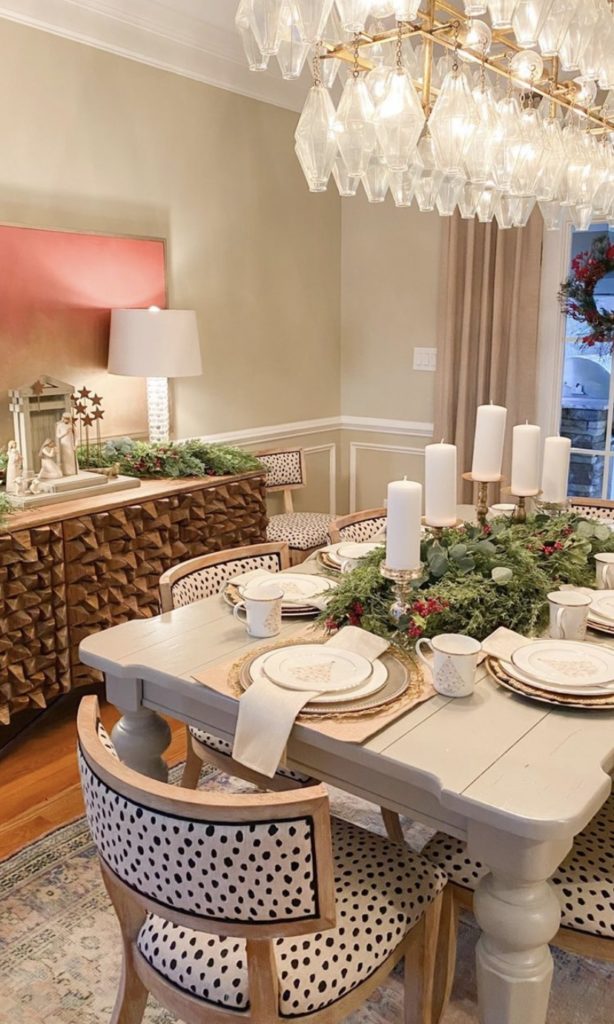
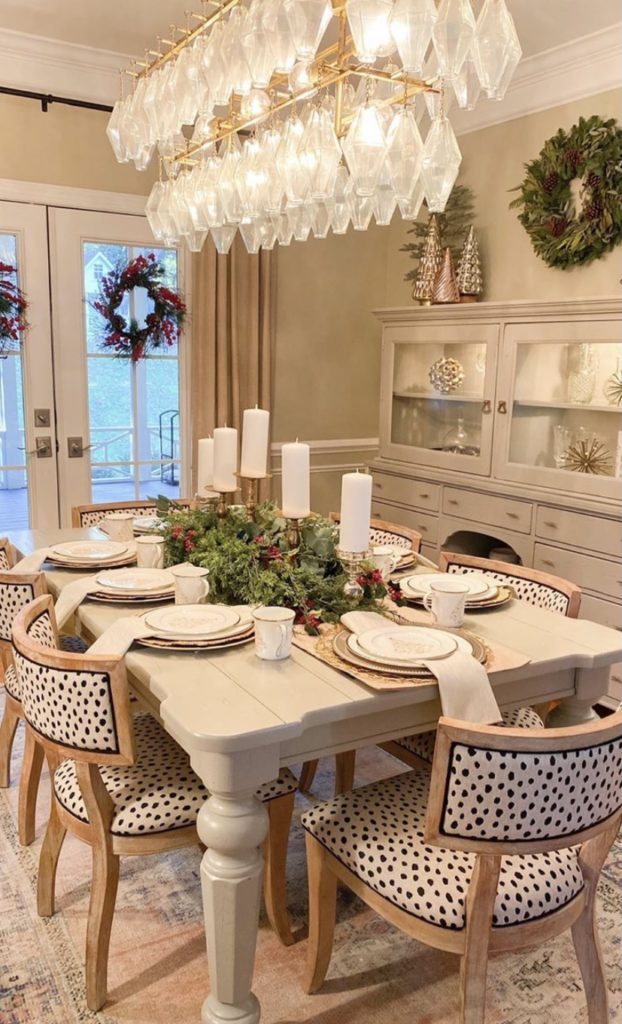
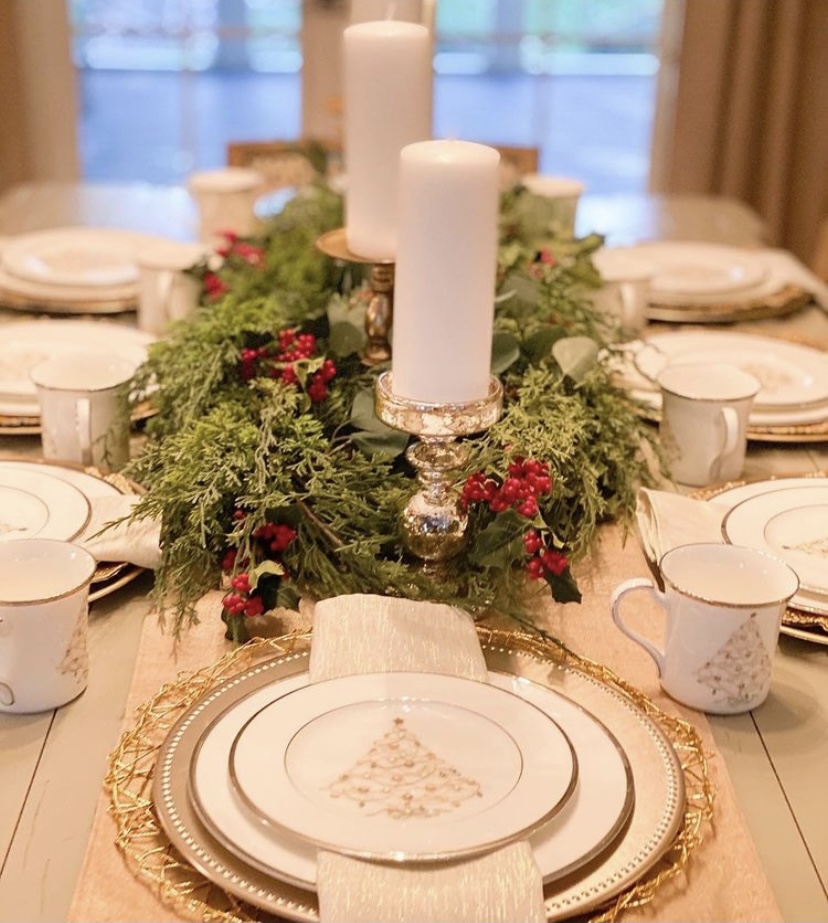
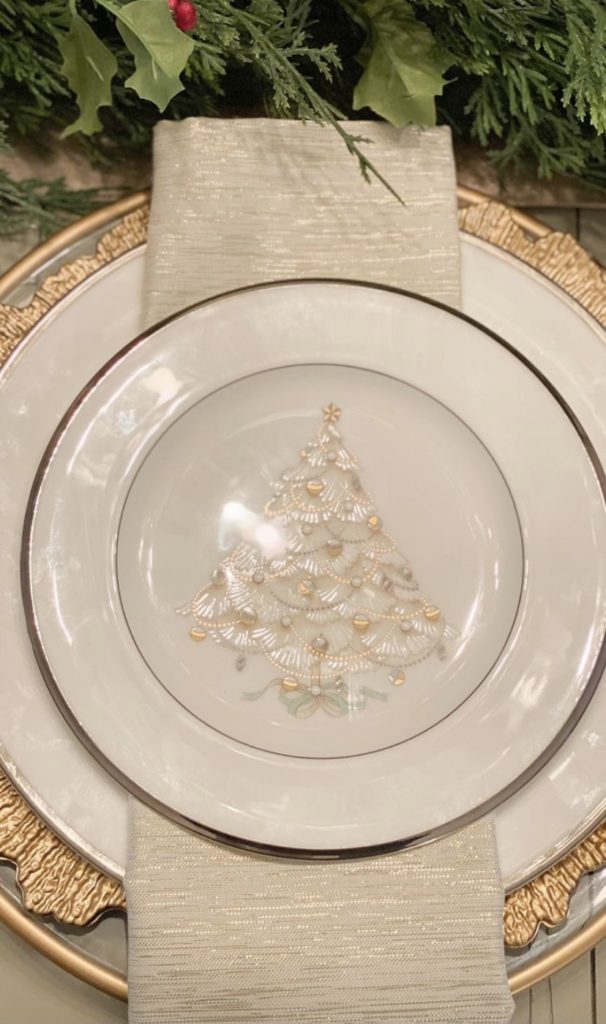
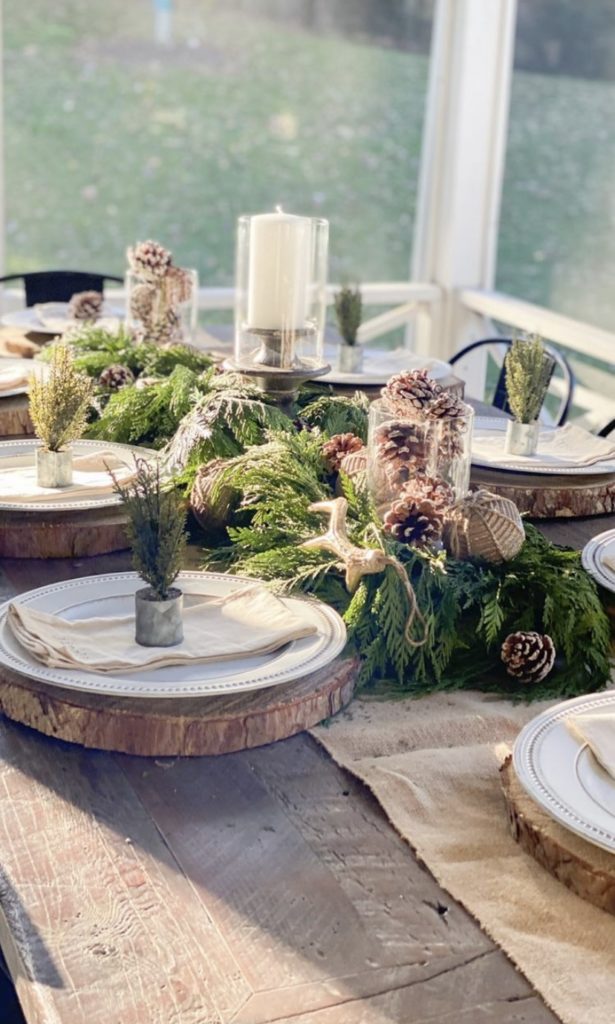
First up: Tablescape! We added the plates and napkins first, setting the table. Then, we rolled out the table runner to pull it all together a bit. We added lush garland and greenery, glasses, and candlesticks. Then came the candles! Candles are the easiest way to dress up a table and add some elegant simplicity. We put a few wreaths and small trees around the dining room and voila, ready for holiday dinners! This garland was purchased from Hobby Lobby.
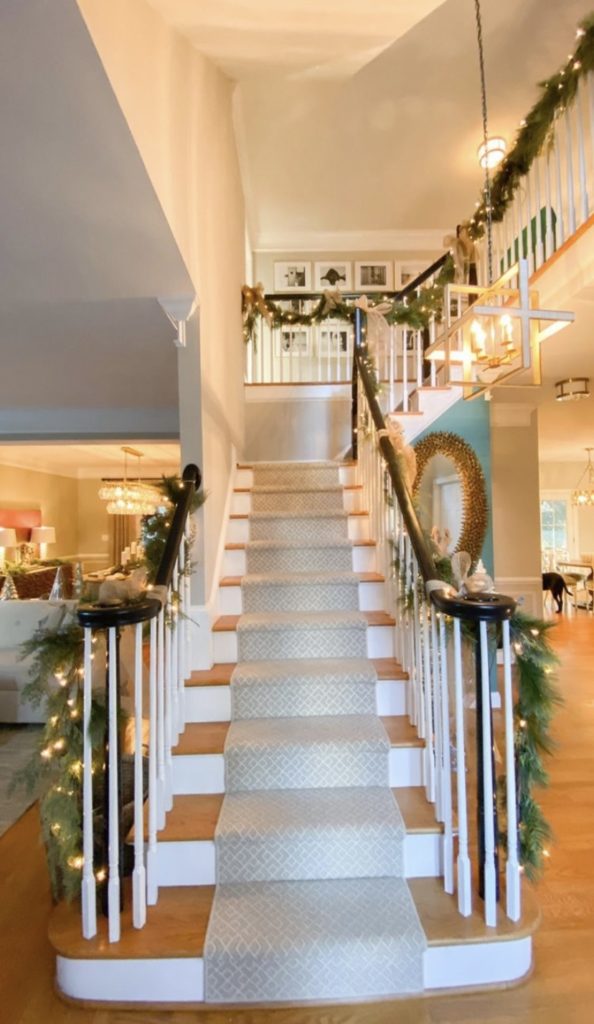
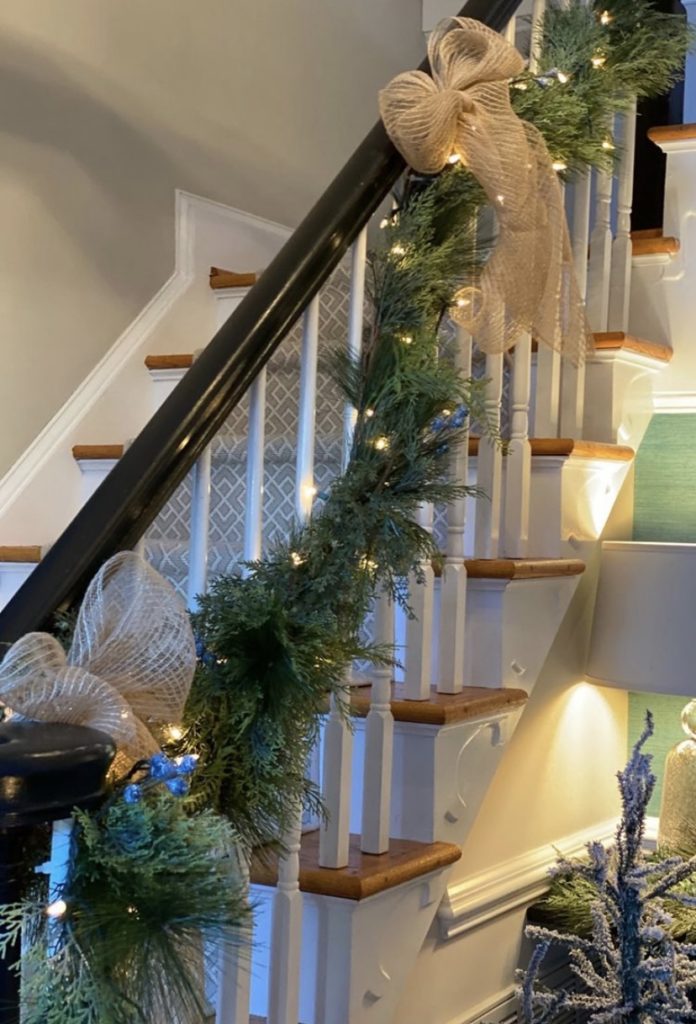
Next up: Entryway! We looped faux garland around the stair rails and added lights and bows into the mix. The stairway was well lit and stunning afterward!
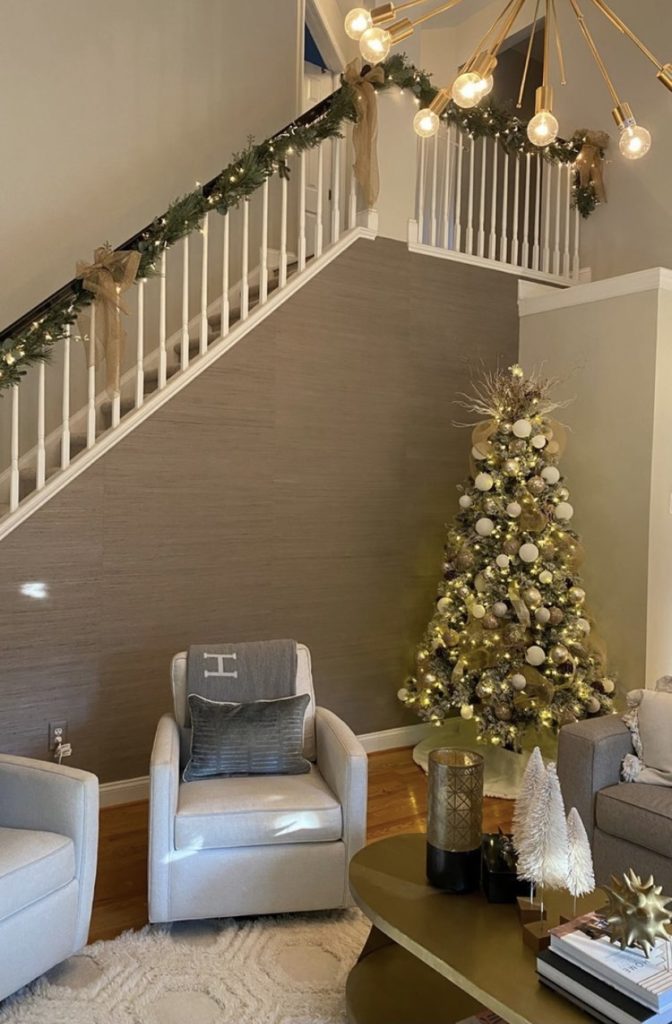
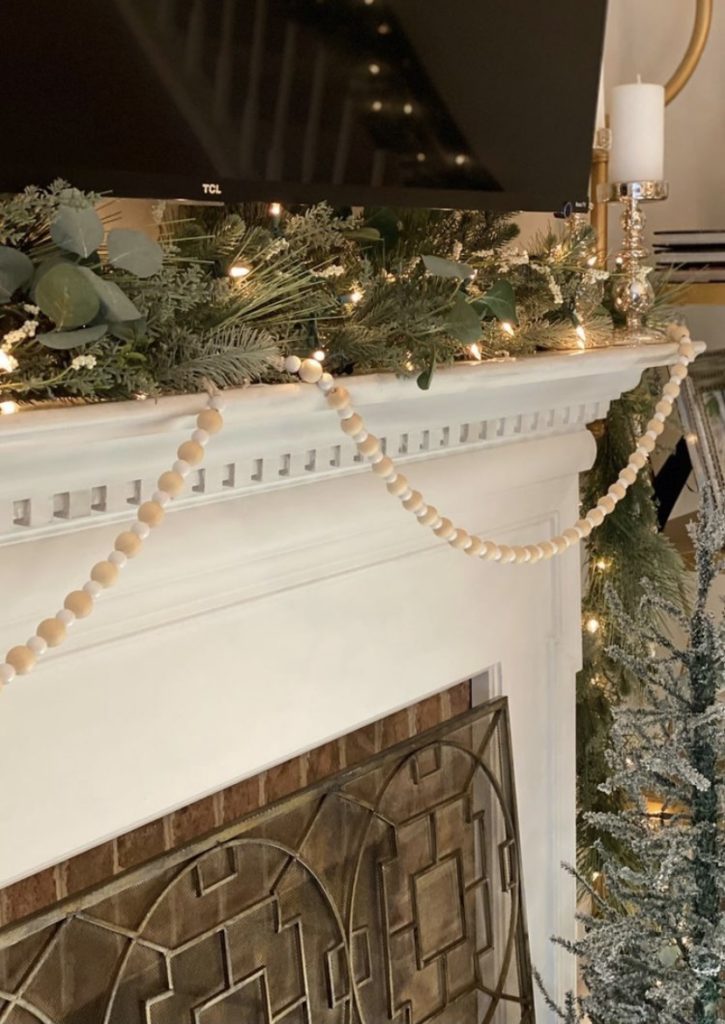
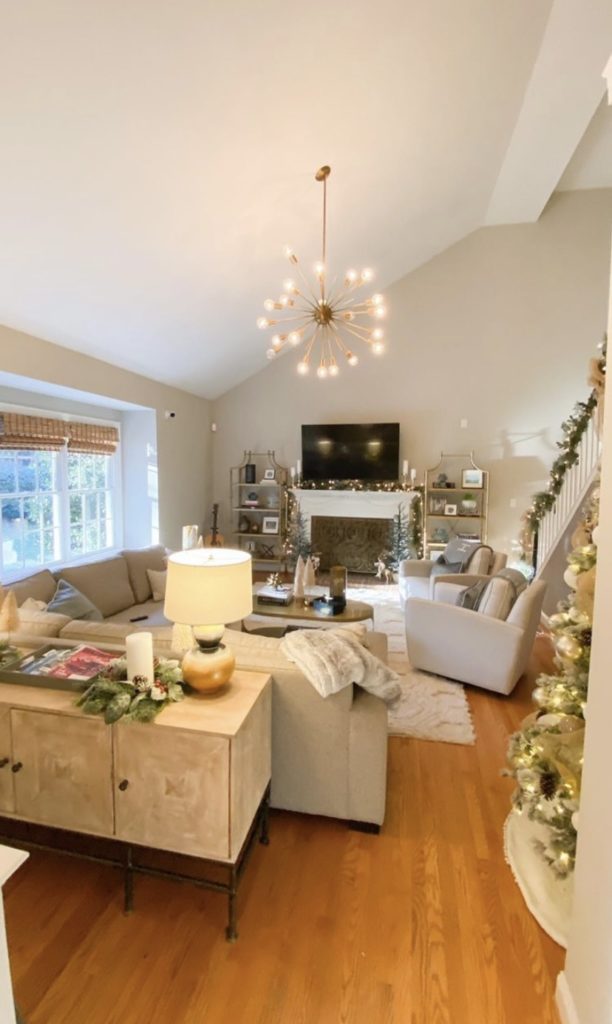
Next: Living room! We set up the tree, wrapped it in lights, and added more garland to the staircase and mantle. This garland was purchased from Studio McGee’s Target line, and we added some beading and candles to the mantle for a touch of elegance. We wanted to see the whole room sparkle with Christmas joy!
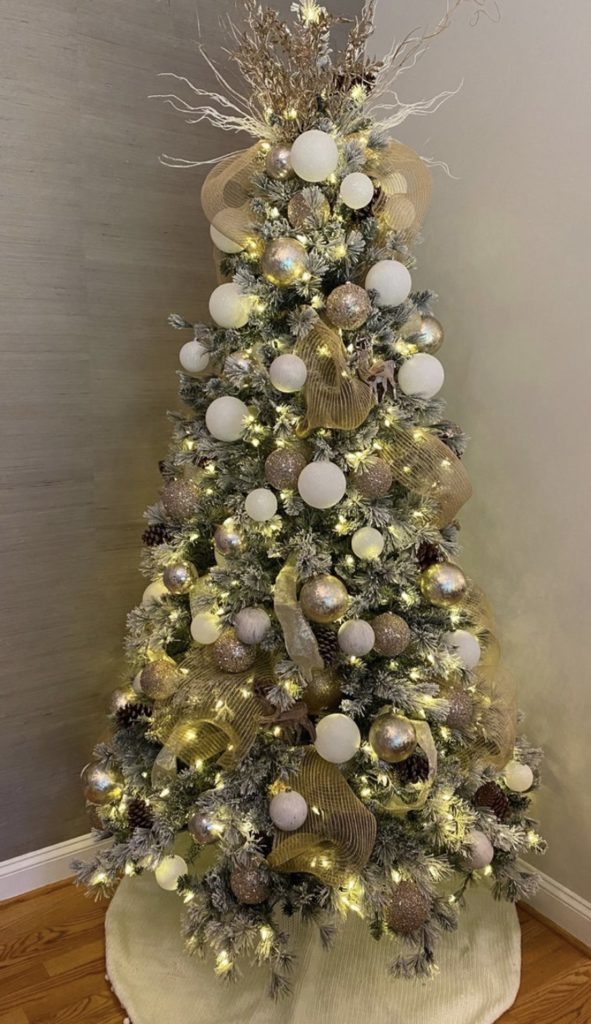
This tree has a chic white theme, and we are obsessed. The frosted branches look lovely with pops of white and sparkles.
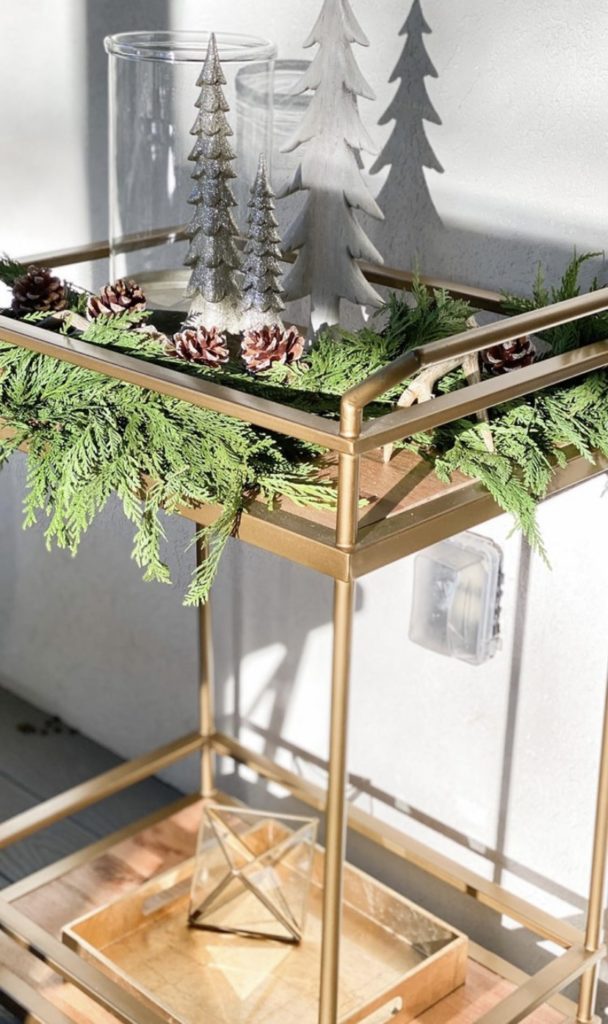
Next: Porch! We created an earthy tablescape in this room, incorporating handmade wooden chargers (available for purchase from me), mini-antlers, candles, pinecones, cloth napkins, and glassware. We love using neutral tones just as much as reds and greens during the holidays! We also decorated this adorable bar cart with silver trees, garland, and pinecones.
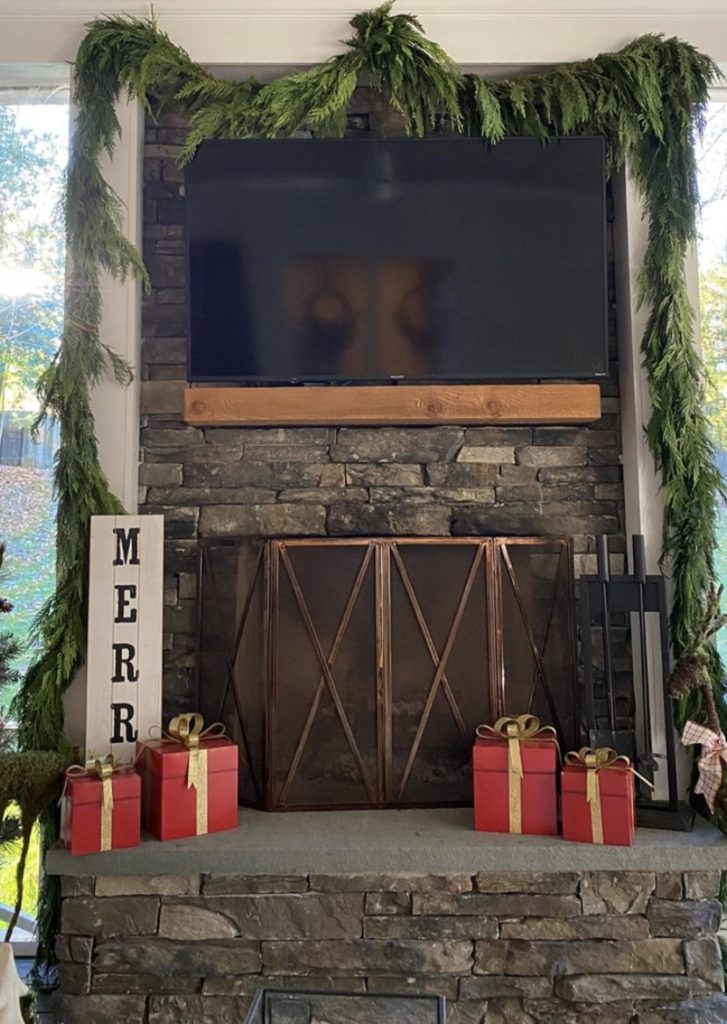
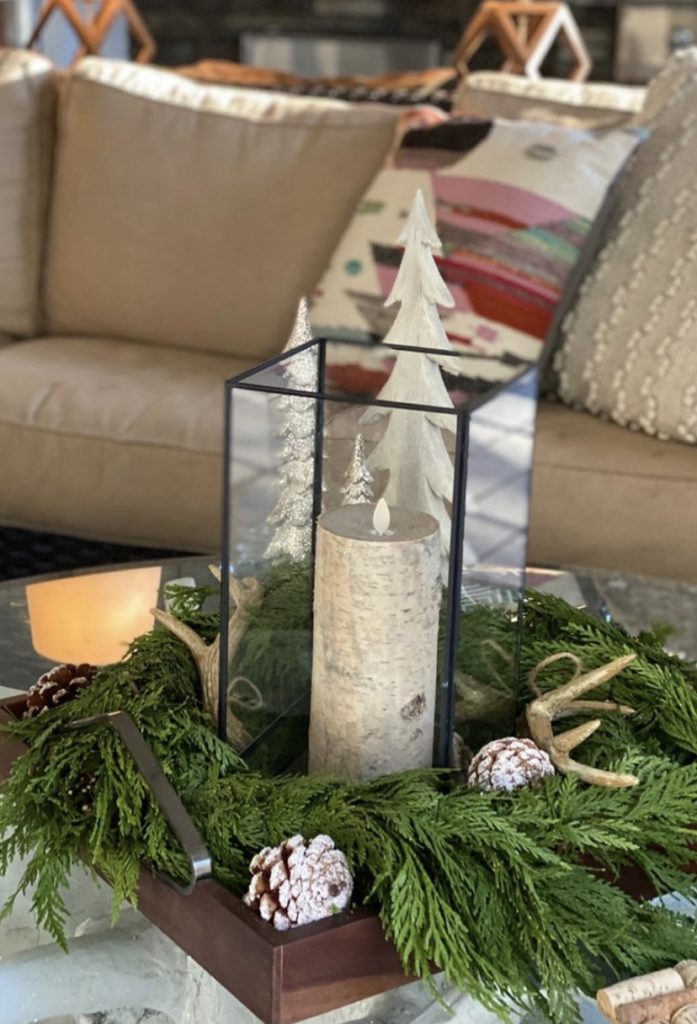
The final details on the porch include this quaint coffee table centerpiece made out of faux garland, mini-antlers, and pinecones. Anything can be accentuated for Christmas! We also added garland, a wooden “Merry” sign, and red presents to the outdoor fireplace. Now our clients can enjoy holiday moments on both their porch and inside!
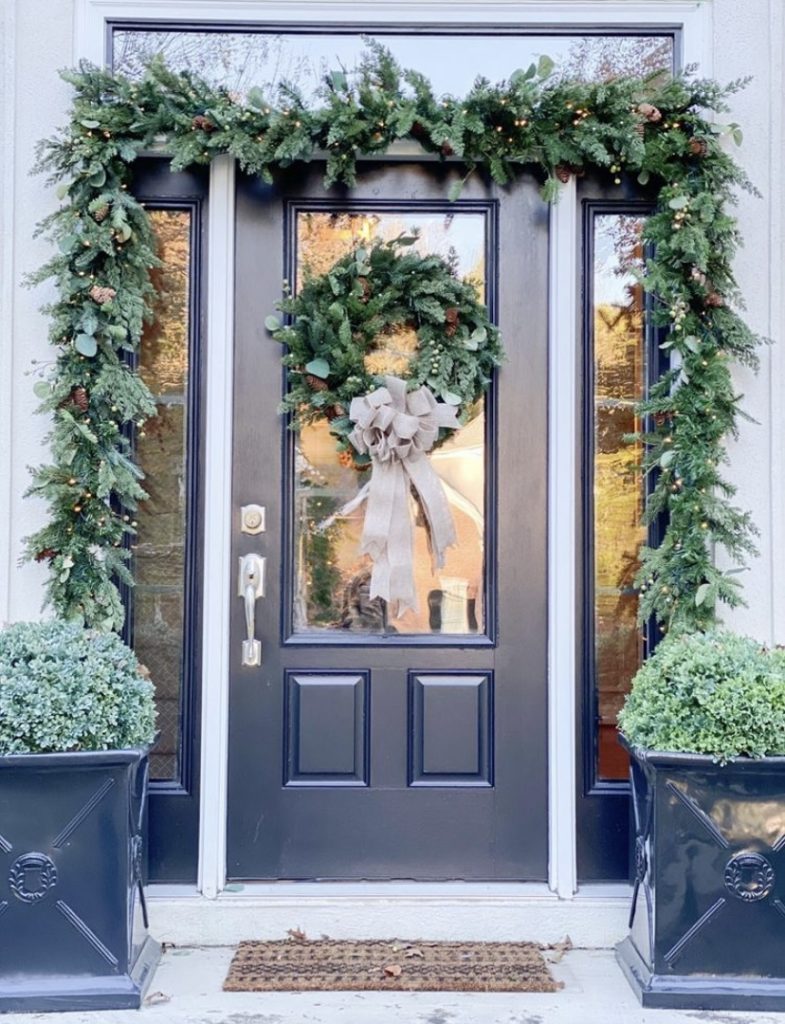
After adding some garland from Frontgate and a festive wreath to the front porch, it was time to call this install a wrap! We are so pleased with the results.
LEAVE A COMMENT
0 Comments