My laundry room was a smaller space in our previous house, and let’s just say it needed some love! As a Mom, I spend a lot of time in the laundry room, and I believe it’s always important to love what you’re looking at. This space was utter chaos for so long, that it was the best feeling to finally organize and beautify it.
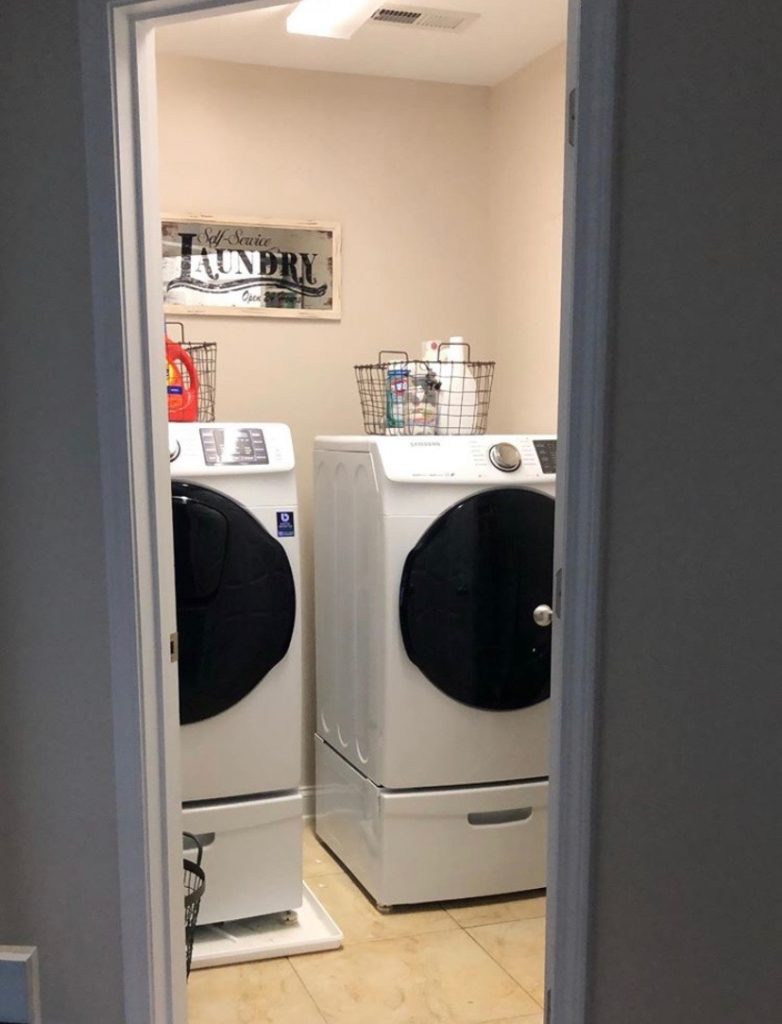
This reno covers a few different DIY projects, so I am going to simplify each as much as I possibly can so you can try them in your home! Every room deserves a chance, and I’m going to show you how to maximize the functionality of a small space!
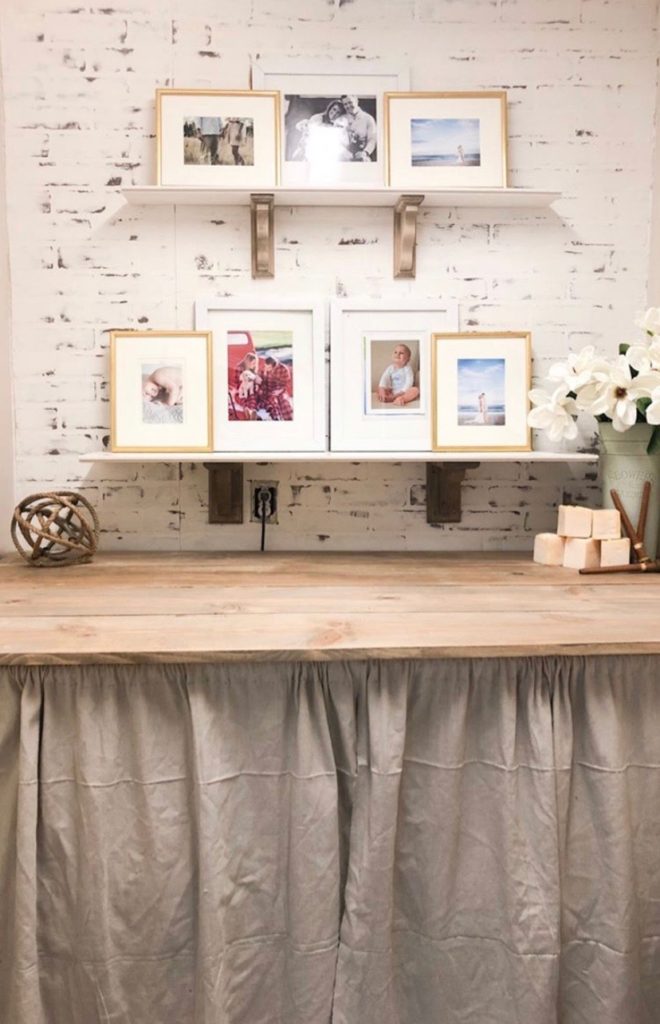
Before any DIY could take place, I cleared our laundry room to make room for a total renovation. Then, I decided to install a brick accent wall. I purchased two sheets of brick from Lowe’s for about $30 each. They were about 8×4 feet each.
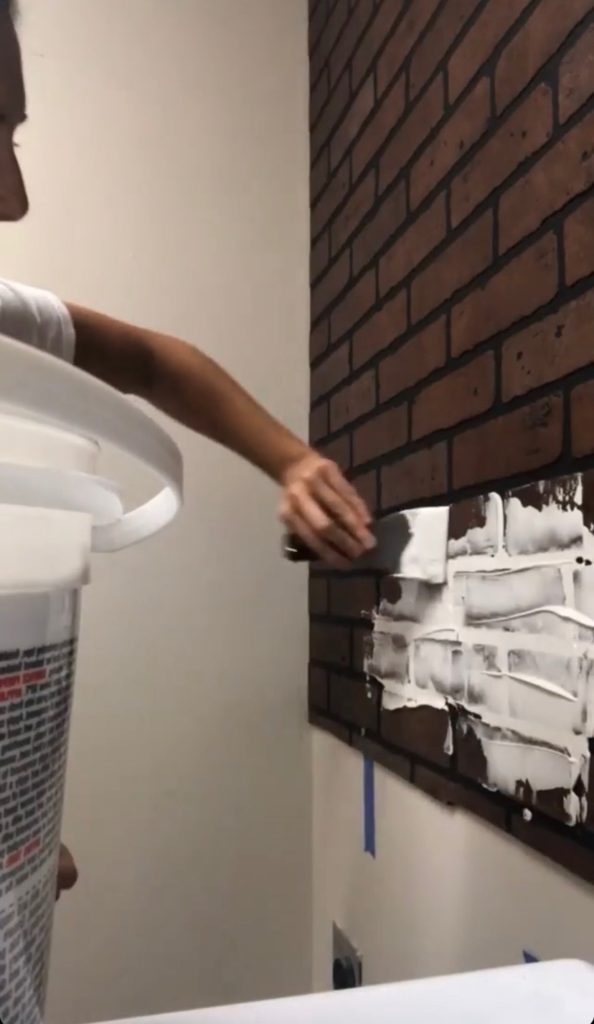
I measured the wall, accounting for the outlets, and cut the brick accordingly. I screwed the brick into the studs after cutting it and covered it in joint compound using a spackling knife.
Some people use finishing nails to attach this type of brick, but we wanted a stronger hold. I decided not to cover the full wall because I planned on putting shelving over the washer and dryer. The brick looked a bit too yellow for my liking with just the joint compound on it, so I used chalk paint to whitewash it. If you want to remove joint compound at any point, you can easily wipe it off with a sponge. I eventually hand-sanded the wall, exposing the brick for more of a rustic appearance.

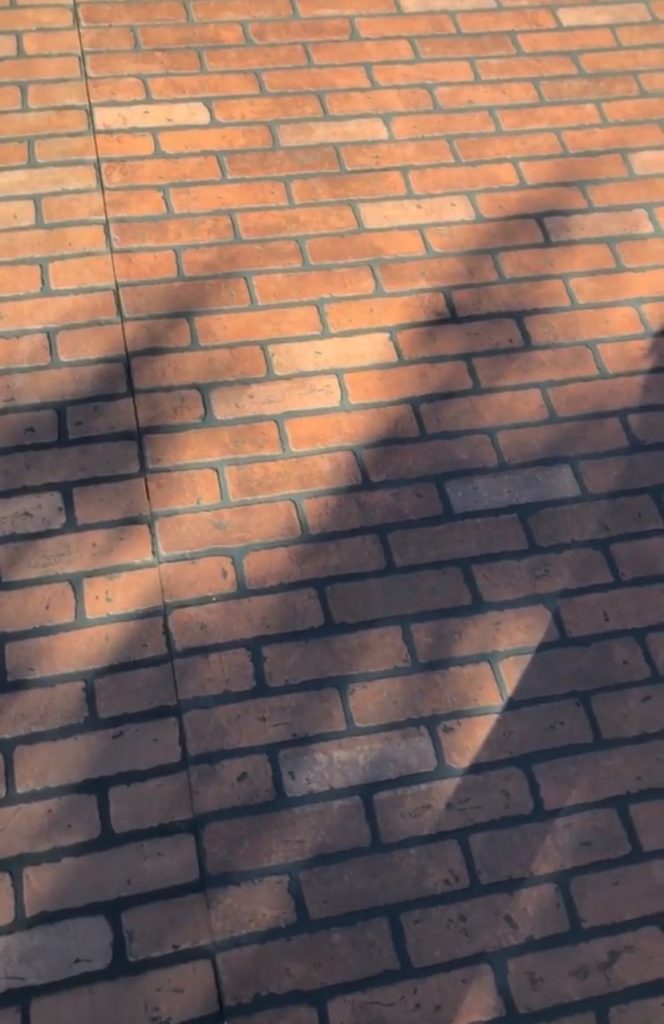
Next, I decided to focus on the flooring. I had always wanted to try a Royal Stencil on floors, and this seemed to be a perfect opportunity! First, I whitewashed the floors with chalk paint. Then, we picked a stencil from Royal Stencils and a neutral beige color for the design.
Here’s how to use floor stencils:
Use painter’s tape to protect cabinets and any area you don’t want to get paint on.
Secure the stencil with painter’s tape on the floor, and use a stencil brush to paint the design onto the floor using minimum paint to prevent bleeding.
Use light pressure and circular motions when painting.
Remove the stencil and reposition it to your next section.
Repeat this until the floor is stenciled.
Apply one or two coats of sealant with a paint roller and let it dry.
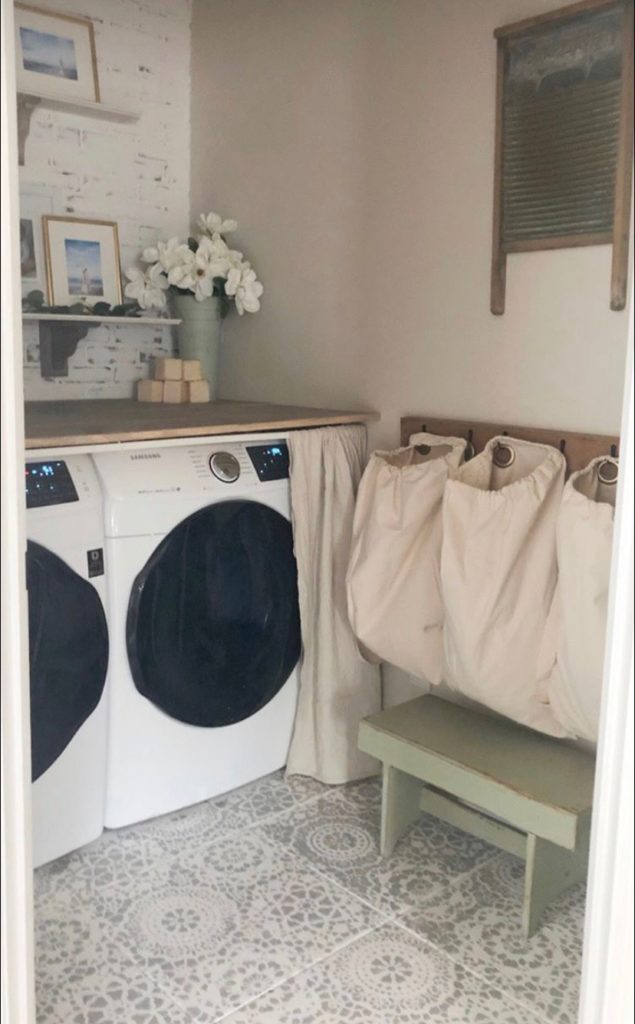
The last DIY project that I am going to show you from our laundry room reno is these super functional and cute laundry bags!
Laundry storage has been an issue for us with such a small room, so I got the idea of using hanging laundry bags on Pinterest. I found some canvas bags on Amazon and removed the string from them. I also found grommets on Amazon to hang the bag by on hooks. To insert grommets, sit the grommet template and trace around it, cut a hole out. Take two pieces of the grommet and snap it together. I used a simple shelf with hooks to hang the bags, and I am obsessed with the outcome!
We personalized this space with shelving, photos, and other decorative aspects. I used this room with a smile on my face after this reno, and would recommend making any ick space in your house into something beautiful!


LEAVE A COMMENT
0 Comments