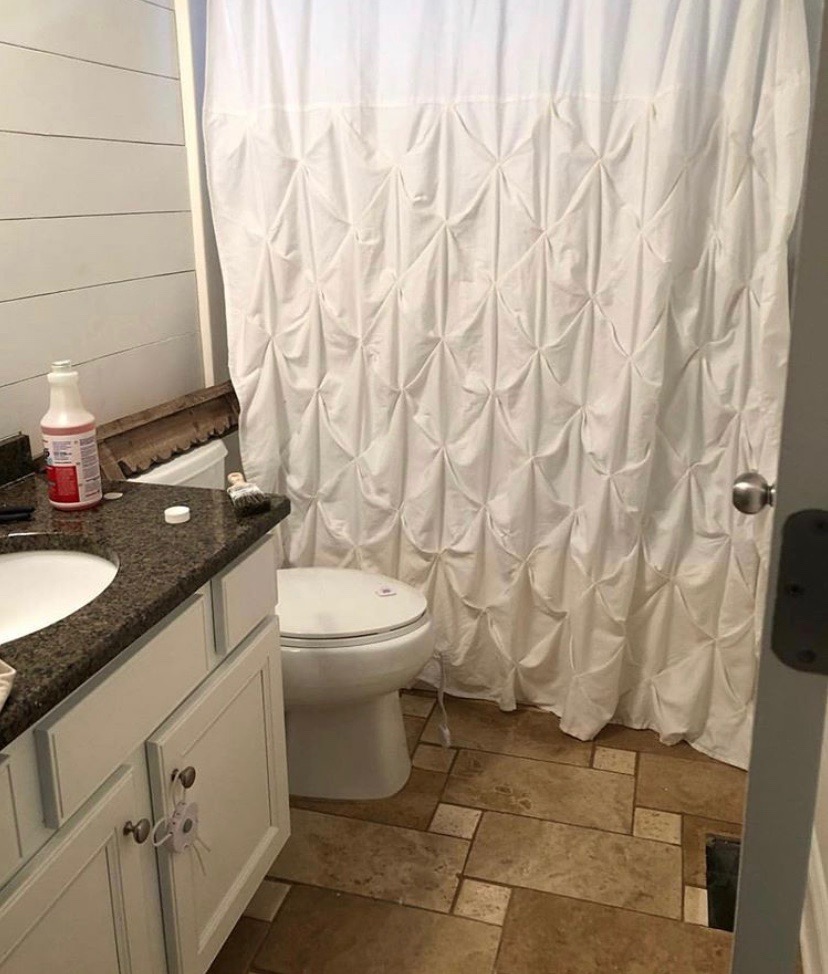
Let’s talk about bathroom floors. Glamorous, right? Maybe not yet, but they can be! Or at least a bit more appealing! Surprisingly, doing a makeover on our guest bathroom’s flooring was one of my quickest, easiest, and most-asked-about DIY projects yet! I was unhappy with the yellowing tint and no matter how hard I scrubbed, I could not get the floors to look clean.

The original tile has texture peeking through it, and I wanted to preserve that. I loved the raw, almost brick-like look to the tile originally, but wanted a lighter tone to give the bathroom new life. I wouldn’t paint over regular flooring with chalk paint, but this textured tile was perfect for the job.
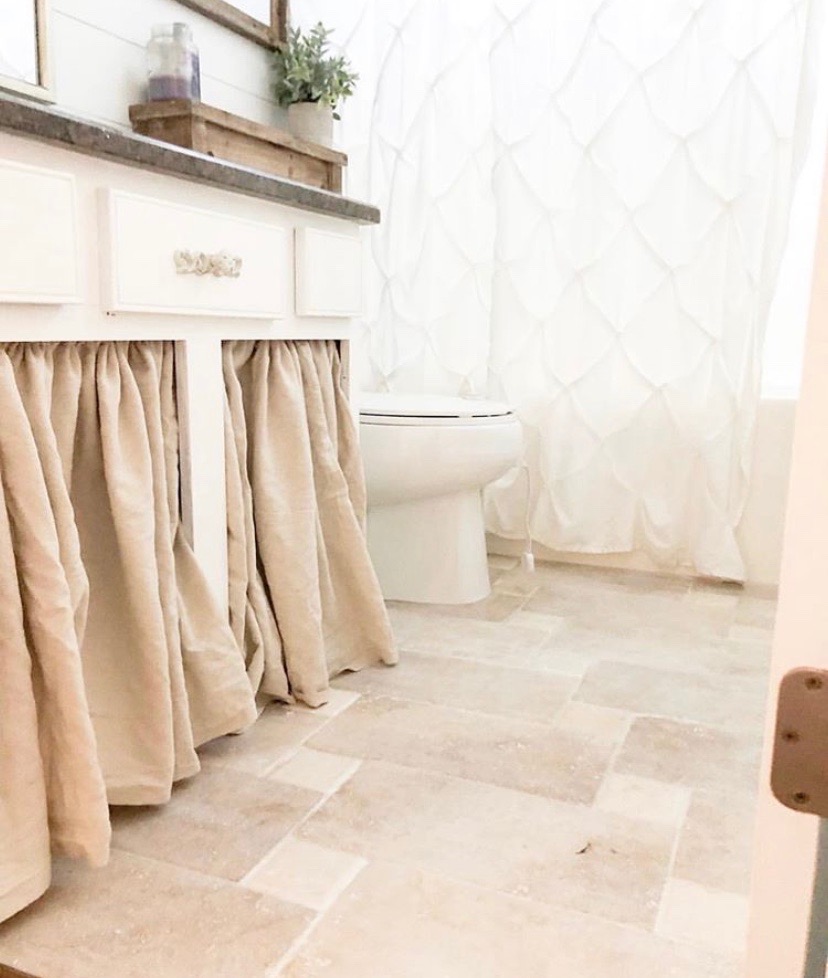
First, I sanded the flooring, then I decided to use a thin coat of my FAVORITE white chalk paint by Annie Sloan (https://www.anniesloan.com/) to whitewash the bathroom floors for a clean, restored look.
Since this project wasn’t on Pinterest, I was totally winging it. Sometimes making something amazing for your home takes messing up! Home projects take a lot of trial-and-error, but the end results are so worth it. A great thing about using chalk paint is that if you’re unhappy with it, you can pretty much use water and some light scrubbing to remove it. No harm, no foul!

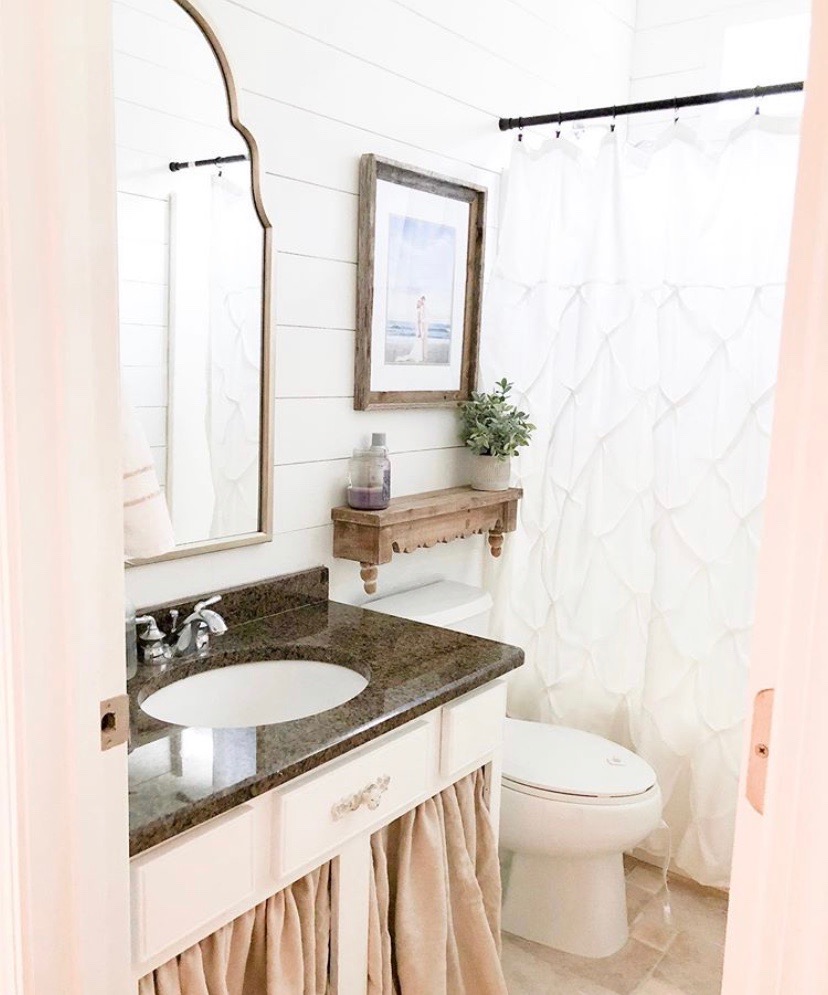
I was extremely happy with the end result, and still get asked about this DIY often! I wanted a bit of tan from the original tile still peeking through, and the light layer of paint was inexpensive and enough to make a real difference in the overall feel of this room.
These types of projects almost always consist of things that I have already in my house or cheap alternatives to expensive ideas. These floors would have been hundreds of dollars if I outsourced and had them redone. I thank God in moments like these for making money tight, resulting in the need to execute these ideas myself. It makes us appreciate what we have, love on it, and treat it with the respect that comes along with hard work.

Hi there. Wondering how your flooring held up over the years? Thanks so much!